
Introduction to Chocolate Chip Cookies
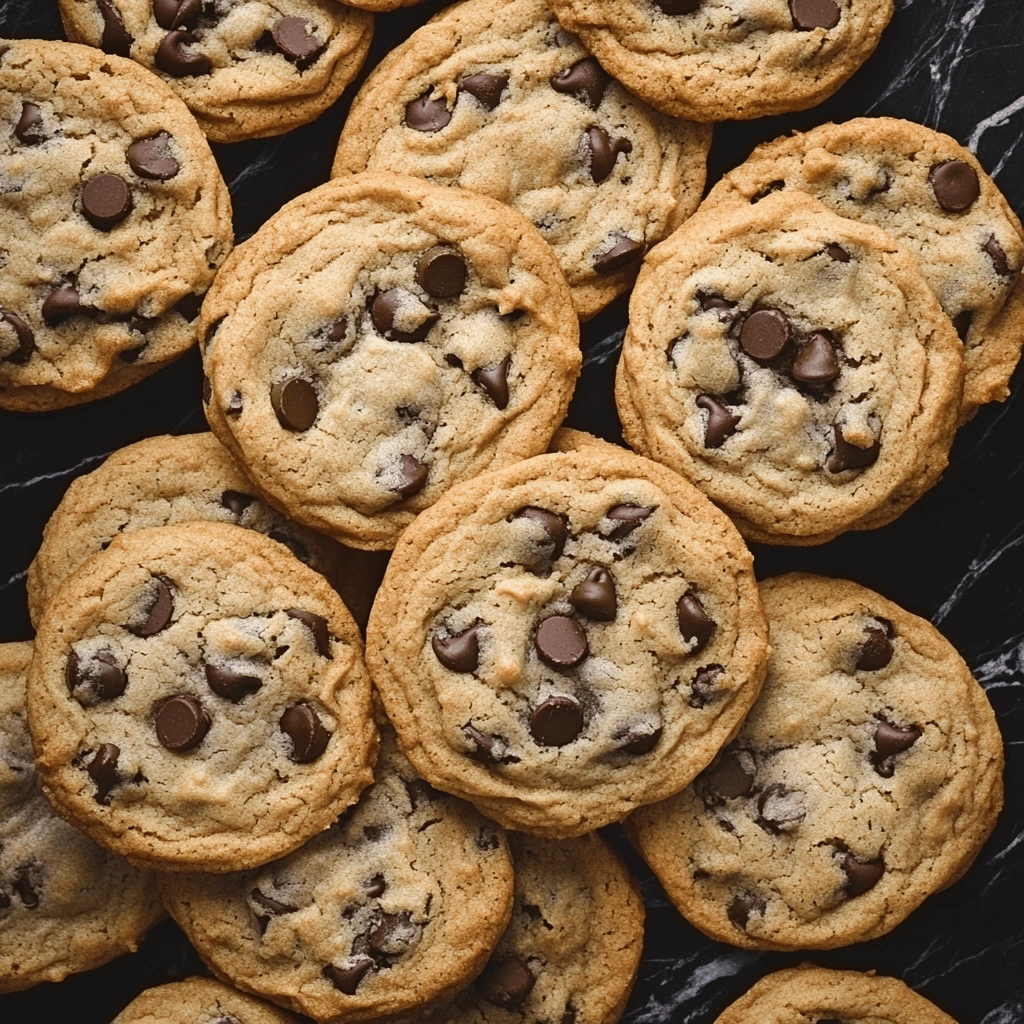
Welcome, cookie enthusiasts! Whether you’re a novice baker or a seasoned pro, there’s nothing quite like the aroma of freshly baked chocolate chip cookies wafting through your home. This beloved treat has captivated hearts and taste buds since its accidental invention in the 1930s by Ruth Graves Wakefield. If you are looking for the perfect Chocolate Chip Cookie Recipe, look no further. Since then, the chocolate chip cookie has become a global phenomenon, adored for its delightful combination of sweet, buttery dough studded with melty chocolate morsels.
In this ultimate guide, we will delve deep into what makes the perfect chocolate chip cookie. From the crispy edges to the chewy center filled with gooey chocolate, every element matters. You’ll learn not only the best ingredients to use but also the techniques that elevate a simple cookie into a masterpiece of baking. Whether you’re baking for a special occasion or just a casual Sunday afternoon, this guide promises to equip you with all the knowledge you need to bake the best chocolate chip cookies that will impress your friends and satisfy your sweet cravings. So, tie on your apron, preheat your oven, and let’s embark on this delicious journey together!
Essential Ingredients for the Perfect Chocolate Chip Cookie
Choosing the Right Chocolate
The type of chocolate you use can dramatically alter the taste, texture, and aesthetic appeal of your chocolate chip cookies. Classic recipes typically call for semi-sweet chocolate chips, but there are several options to consider:
- Semi-Sweet Chocolate Chips: These are the traditional choice with a balanced sweetness that complements the cookie dough.
- Dark Chocolate Chunks: If you prefer a richer, more intense chocolate flavor with less sweetness, dark chocolate is an excellent choice. Chunks will also provide a more varied texture with pockets of molten chocolate.
- Milk Chocolate Chips: These are sweeter and creamier than semi-sweet chips, ideal for those who enjoy a milder chocolate flavor.
- White Chocolate Chips: For a different twist, white chocolate offers a creamy and sweet flavor that pairs beautifully with additional ingredients like macadamia nuts.
- Artisan Chocolate: Consider sourcing high-quality, single-origin chocolate bars and chopping them into chunks. This option allows for unique flavor profiles that can differentiate your cookies.
Experimenting with different sizes and types of chocolate can also impact how chocolate is distributed throughout the cookie, affecting every bite.
The Best Flours to Use
Flour acts as the structural backbone of your cookies, and the type you choose can affect the texture:
- All-Purpose Flour: The standard choice for baking cookies, all-purpose flour provides a good structure due to its moderate protein content, making your cookies neither too hard nor too soft.
- Bread Flour: For chewier cookies, consider using bread flour. It has a higher protein content than all-purpose, which can give your cookies a more substantial bite.
- Cake Flour: If you prefer your cookies with a lighter, more tender texture, substituting some of the all-purpose flour with cake flour can help achieve that.
- Whole Wheat Flour: Adding whole wheat flour gives cookies a nuttier flavor and denser texture. It’s also a healthier option, though it’s typically mixed with all-purpose flour to prevent the cookies from becoming too heavy.
Blending different flours can personalize the texture of your cookies and is a great way to experiment with your baking.
Understanding Sugars and Fats in Baking
Sugars and fats are not just about sweetness and richness; they play crucial roles in the texture and spread of your cookies:
- Sugars:
- White Sugar: Promotes spreading and results in crispier cookies.
- Brown Sugar: Contains molasses, which adds moisture and yields chewier cookies with a rich flavor.
- Honey or Maple Syrup: Natural sweeteners like honey or maple syrup can be used to impart distinct flavors but may alter the texture, making adjustments necessary.
- Fats:
- Butter: The most common fat used for its unparalleled flavor. It can be melted for denser, chewier cookies, or creamed for lighter, fluffier cookies.
- Shortening: Lacks flavor compared to butter but is great for achieving very soft and thick cookies.
- Coconut Oil: A vegan alternative that imparts a slight coconut flavor, perfect for adding a unique twist to traditional recipes.
Each combination of sugars and fats can be tweaked depending on the desired outcome of your cookies, whether you’re aiming for crispy, chewy, or soft.
Step-by-Step Baking Process
Mixing Your Ingredients Correctly
Proper mixing of ingredients is crucial to achieving the perfect texture in your chocolate chip cookies. Here’s how to do it right:
- Start with Room Temperature Ingredients: Ensure that your butter and eggs are at room temperature to mix evenly and create a smooth, uniform dough.
- Creaming Butter and Sugars: Begin by creaming the butter with both white and brown sugars until the mixture is light and fluffy. This process incorporates air into the dough, which helps with leavening during baking.
- Adding Eggs and Vanilla: Add eggs one at a time, mixing well after each addition. Incorporate vanilla extract with the eggs to enhance flavor.
- Dry Ingredients: Whisk together your choice of flour, baking soda, and salt in a separate bowl. Gradually add this to the wet ingredients, mixing just until the flour is incorporated. Over-mixing at this stage can activate the gluten in the flour too much, leading to tough cookies.
- Folding in Chocolate Chips: Finally, fold in the chocolate chips gently to avoid breaking them up. This also ensures they are evenly distributed without overworking the dough.
Taking care to mix correctly at each step ensures that the dough develops just the right texture and consistency for baking.
Secrets to Shaping and Spacing Cookies
Shaping and spacing your cookies correctly can be the difference between perfect cookies and a baking sheet disaster:
- Scooping Dough: Use a cookie scoop or a spoon to scoop uniform balls of dough. This consistency helps ensure that all your cookies bake at the same rate.
- Rolling the Dough: Optionally, roll the dough gently between your hands to form smoother balls, which can give your cookies a more uniform appearance.
- Spacing on the Baking Sheet: Place dough balls about 2 inches apart on your baking sheet. Remember that the cookies will spread during baking, so adequate spacing prevents them from merging into one another.
- Chilling the Dough: If time allows, chilling the dough for at least 30 minutes (or even overnight) can help control spreading and intensify the flavors in your cookies.
By mastering these shaping and spacing techniques, you ensure that your cookies come out well-formed and evenly baked.
Baking Times and Temperatures for Perfect Results
The final bake is crucial for achieving the perfect chocolate chip cookie:
- Oven Temperature: Preheat your oven to 350 degrees Fahrenheit. A properly preheated oven ensures a consistent baking temperature throughout the process.
- Baking Time: Baking times can vary depending on the size of your cookies and your oven, but generally, 10-12 minutes is sufficient for most cookies. The edges should look set and just beginning to brown, while the centers remain soft.
- Using an Oven Thermometer: For accuracy, use an oven thermometer to verify the actual temperature inside your oven, as some ovens can be off by 25 degrees or more.
- Cooling: After baking, let cookies cool on the baking sheet for a few minutes before transferring them to a cooling rack. This allows them to set properly and makes them easier to handle without breaking.
Each element of the baking process, from temperature control to timing, works together to produce the perfect chocolate chip cookie. Adjust these factors based on your specific oven and recipe requirements for the best results.
Tips and Tricks for the Best Chocolate Chip Cookies
Adjusting Ingredients for Chewiness vs. Crunchiness
One of the most exciting aspects of baking chocolate chip cookies is being able to tweak the ingredients to achieve your preferred texture. Whether you love your cookies soft and chewy or crispy and crunchy, here’s how you can adjust your ingredients accordingly:
For Chewy Cookies:
- Use More Brown Sugar: Brown sugar contains molasses, which adds moisture and chewiness to the cookie. A higher ratio of brown sugar to white sugar results in a softer texture.
- Increase the Egg Yolk: Egg yolks contribute richness and moisture. Using an extra egg yolk (without adding the white) creates a more tender, chewy cookie.
- Use Melted Butter: Melted butter increases the density of the dough, leading to a chewier texture rather than a cakey or crisp result.
- Opt for Bread Flour: The higher protein content in bread flour helps create a chewier bite compared to all-purpose flour.
- Chill the Dough: Allowing the dough to rest in the fridge for at least 30 minutes (or up to 48 hours) before baking enhances the chewiness by hydrating the flour and intensifying flavors.
For Crunchy Cookies:
- Use More White Sugar: White sugar encourages cookies to spread and crisp up during baking. Reducing brown sugar and increasing white sugar results in a crisper cookie.
- Use More Butter: Butter causes cookies to spread more and become thinner and crispier.
- Flatten the Dough Balls: Pressing the dough slightly before baking helps the cookies bake into thinner, crispier rounds.
- Extend Baking Time: Baking cookies a few extra minutes (at a slightly lower temperature, around 325°F) will allow them to dry out more and develop that perfect crunch.
- Use Less Moisture: Reducing the egg content slightly or using only egg whites instead of whole eggs can contribute to a drier, crunchier cookie.
By experimenting with these ingredient adjustments, you can create the exact texture you love in your chocolate chip cookies.
How to Keep Your Cookies Fresh
Once you’ve baked the perfect batch of chocolate chip cookies, keeping them fresh is key to ensuring they stay just as delicious for days to come. Here’s how to store your cookies properly:
Short-Term Storage (1-3 Days)
- Use an Airtight Container: Store cookies in an airtight container at room temperature to prevent them from drying out or becoming stale.
- Add a Slice of Bread: Place a slice of fresh white bread in the container with your cookies. The bread helps maintain moisture, keeping your cookies soft and chewy.
- Separate Crisp and Chewy Cookies: If you’ve baked different types of cookies, store chewy and crisp ones separately, as chewy cookies can introduce moisture that makes crunchy cookies go soft.
Long-Term Storage (Up to 2 Weeks)
- Refrigeration: If you need to keep cookies fresh for longer than a few days, store them in an airtight container in the fridge. Allow them to come to room temperature before eating for the best texture.
Freezing Cookies (Up to 3 Months)
- Freeze Baked Cookies: Place completely cooled cookies in a single layer on a baking sheet, then transfer them to a freezer-safe container or bag once frozen solid. This prevents them from sticking together.
- Freeze Cookie Dough: If you prefer fresh-baked cookies on demand, freeze cookie dough balls on a baking sheet before storing them in a freezer bag. When ready to bake, simply place the frozen dough on a tray and bake—no need to thaw!
- Reheat for Freshness: Warm cookies in a 300°F oven for a few minutes or microwave for 10-15 seconds to restore their just-baked texture.
These storage tips help extend the life of your cookies while maintaining their flavor and texture.
Experimenting with Add-Ins and Toppings
Once you’ve mastered the classic chocolate chip cookie, it’s time to get creative! Adding different ingredients can elevate your cookies and introduce unique flavors and textures. Here are some fun add-ins and toppings to try:
Flavorful Add-Ins
- Nuts: Chopped walnuts, pecans, or almonds add crunch and enhance the cookie’s depth of flavor.
- Dried Fruits: Raisins, dried cranberries, or chopped dried cherries bring a natural sweetness and chewiness.
- Coconut Flakes: Toasted coconut flakes add a tropical flair and a bit of crunch.
- Spices: A pinch of cinnamon, nutmeg, or espresso powder can deepen the overall flavor profile.
- Candy Pieces: Crushed Oreos, M&Ms, toffee bits, or peanut butter cups offer bursts of extra sweetness.
Toppings for Extra Appeal
- Sea Salt: A light sprinkle of flaky sea salt before baking enhances the chocolate’s richness and balances sweetness.
- Caramel Drizzle: Drizzling melted caramel over cookies after baking gives a gourmet touch.
- Chocolate Dip: Dip half of each cookie in melted dark or white chocolate for a bakery-style presentation.
- Marshmallows: Add mini marshmallows toward the end of baking for a gooey, s’mores-like effect.
By experimenting with different add-ins and toppings, you can create custom cookies tailored to your taste and impress anyone with your baking skills!
Conclusion
Congratulations! You now have all the knowledge you need to bake the perfect batch of chocolate chip cookies. Whether you love them soft and chewy or crisp and crunchy, this Ultimate Guide to the Best Chocolate Chip Cookie Recipe has given you the secrets to customize your cookies exactly to your taste.
From choosing the right chocolate and adjusting ingredient ratios to shaping, spacing, and baking for perfection, every detail matters in creating the ultimate cookie experience. And once your cookies are out of the oven, you now know how to store them properly to keep them fresh for days—or even months!
But why stop at the classic recipe? Experiment with different add-ins and toppings to create unique variations that reflect your personality and taste preferences. The beauty of baking is that it allows for creativity and endless possibilities!
Now it’s your turn—preheat that oven, gather your ingredients, and start baking! Whether you’re making cookies for yourself, sharing them with family, or gifting them to friends, nothing beats the joy of a homemade chocolate chip cookie made with love.
Have any favorite baking tips or unique cookie combinations? Share your thoughts in the comments below! And if you tried this recipe, let us know how it turned out—we’d love to hear from you! 🍪❤️