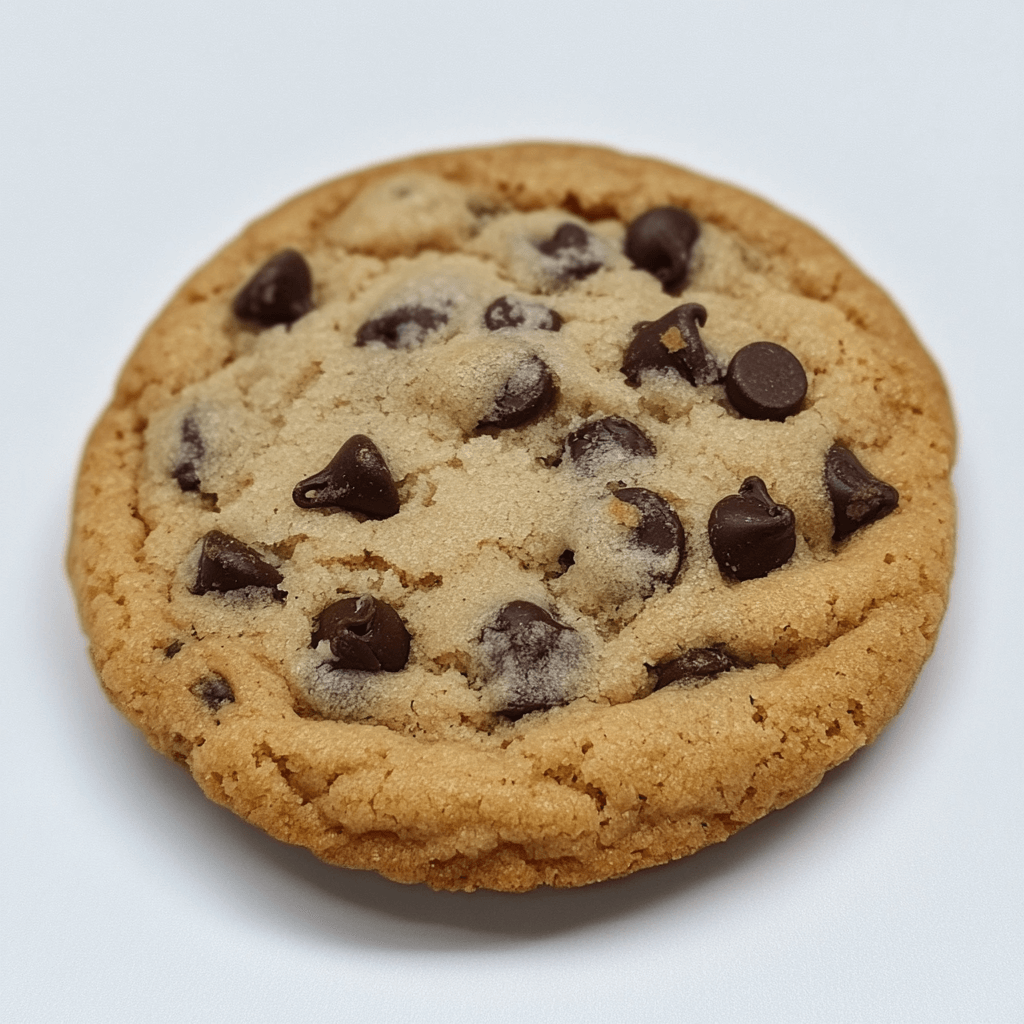
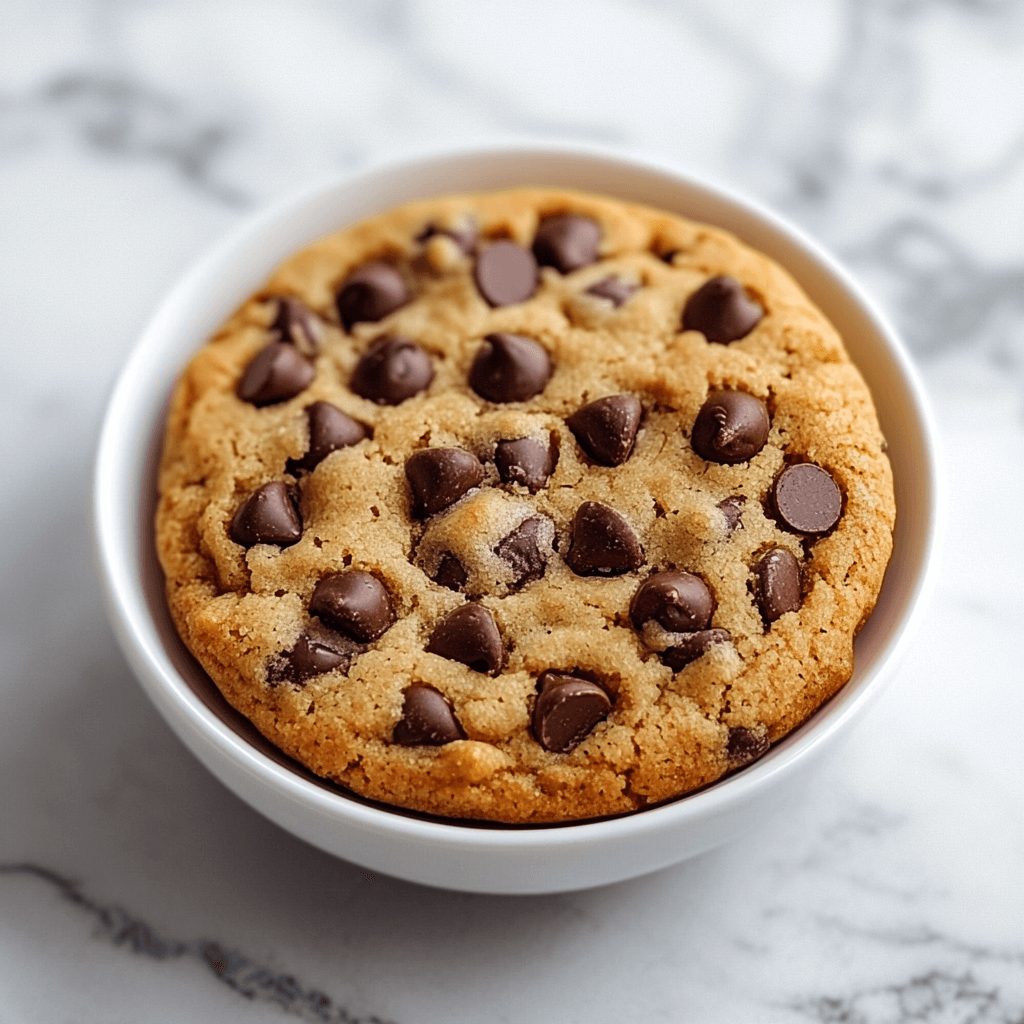
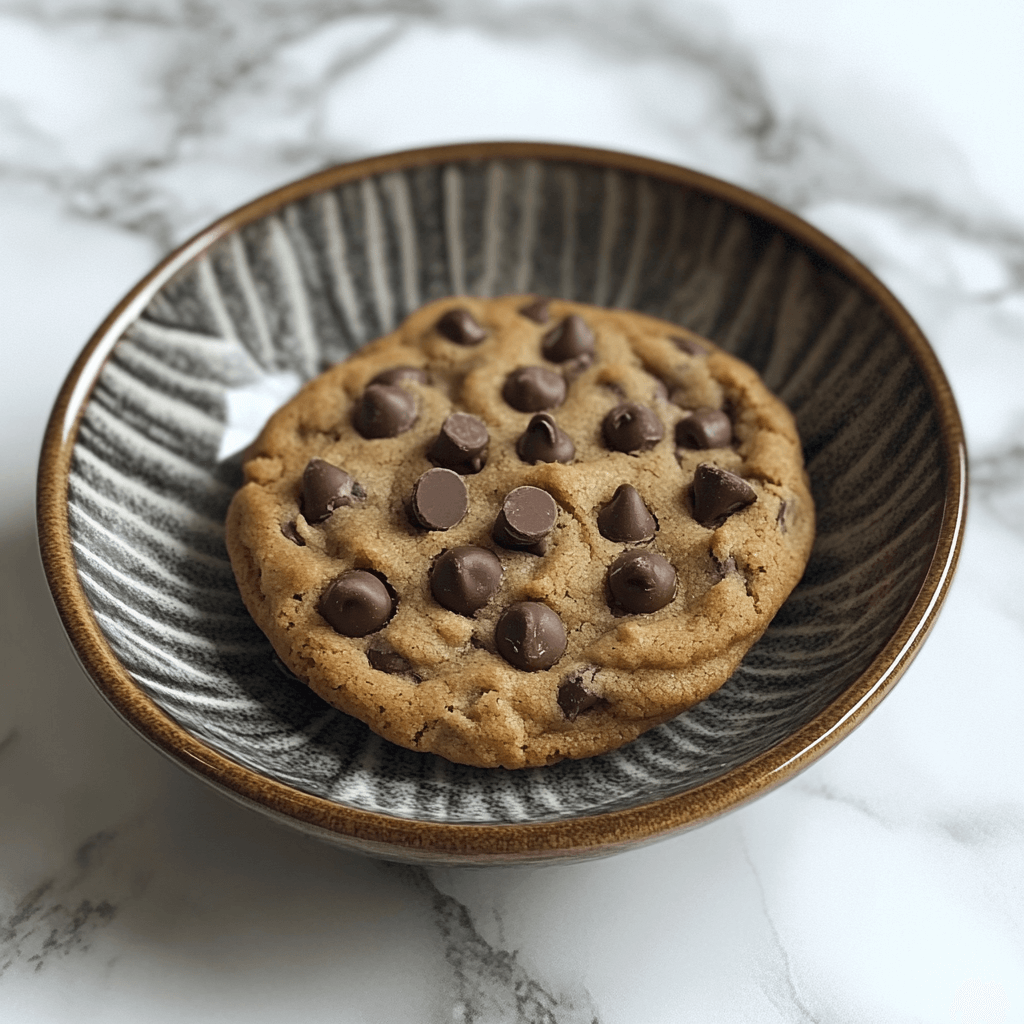
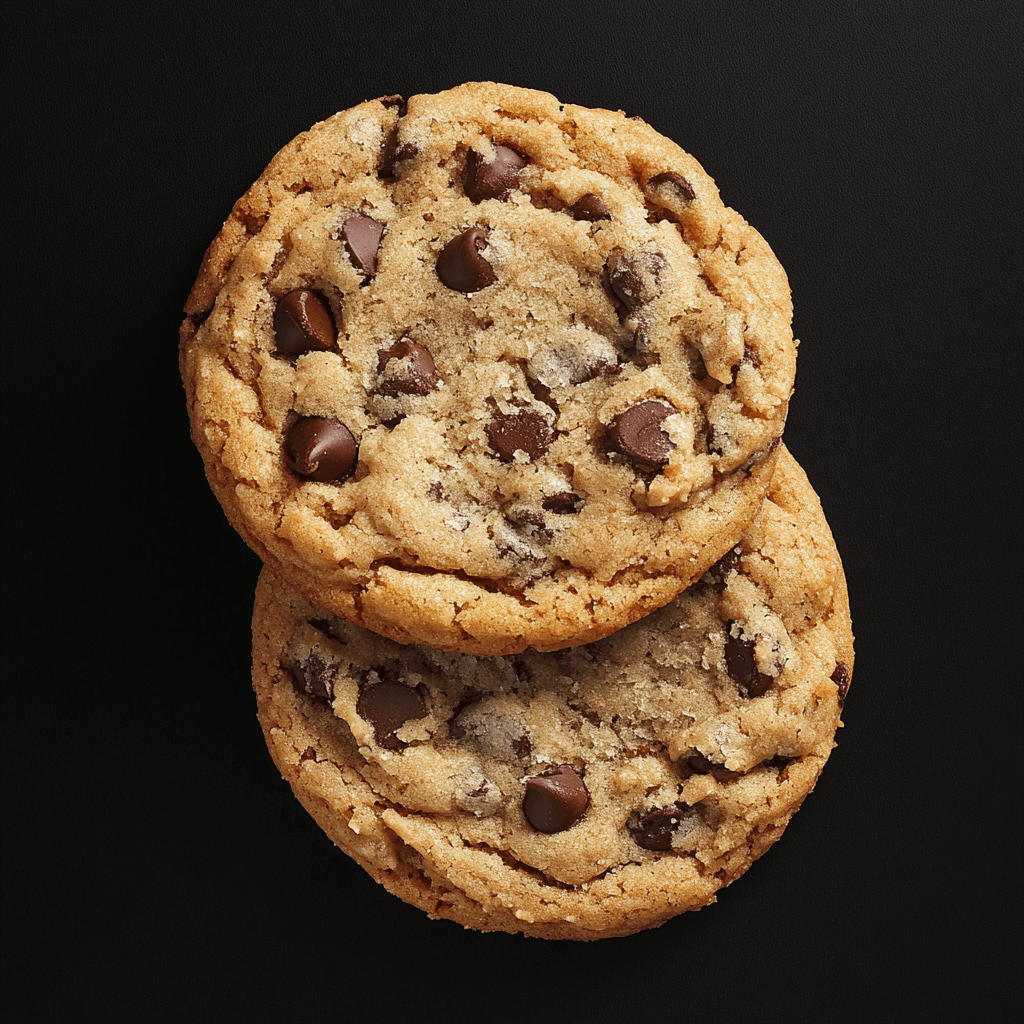
Welcome to your new go-to guide for baking the ultimate chocolate chip cookies! Whether you’re a novice baker or a seasoned pro, there’s something truly magical about pulling a batch of freshly baked cookies out of the oven. Our chocolate chip cookie recipe promises not just any cookies, but irresistible chocolate chip cookies. They might just be the best you’ve ever tasted.
In this post, we’ll dive deep into the secrets that ensure your cookies come out perfect every time. From choosing the right ingredients to mastering the baking process, we’ve got a plethora of tips and tricks. They will elevate your baking game. We’ll explore everything from the types of chocolate that can enhance your cookies. Additionally, the ideal baking techniques make all the difference.
Get ready to impress your friends and delight your family with delicious, mouth-watering cookies. They are the perfect combination of chewy and crispy. So, grab your apron, preheat your oven, and let’s start baking. These chocolate chip cookies are sure to become a favorite in your home!
Essential Ingredients for Perfect Chocolate Chip Cookies

The Best Flours to Use
When it comes to baking chocolate chip cookies, the type of flour you use can greatly influence the texture of your final product. All-purpose flour is the most commonly used because it provides a good structure due to its moderate protein content. This is ideal for a classic chewy texture. For a lighter, more delicate cookie, cake flour can be used because it has less protein. This leads to less gluten formation. On the other hand, bread flour, which has a higher protein content, can make your cookies chewier and more substantial. Some bakers even like to mix flours—combining all-purpose with bread flour—to create the perfect balance of chewiness and tenderness.
Choosing the Right Chocolate
The type of chocolate chips you choose can transform the flavor profile of your cookies. Semi-sweet chocolate chips are traditional and beloved for their balanced sweetness. They don’t overpower the cookie. Dark chocolate chips bring a rich, intense chocolate flavor that pairs beautifully with the sweetness of the cookie dough. This makes them ideal for those who prefer less sweetness and more chocolate depth. Milk chocolate chips are sweeter and creamier. They provide a milder chocolate taste that can be particularly appealing to younger palates. Experimenting with different types or combinations of chocolate chips can personalize your cookies to match your flavor preferences.
The Role of Fats: Butter vs. Margarine
Fats are a crucial component in chocolate chip cookies, affecting everything from texture to flavor. Butter is favored in baking for its unparalleled taste. It promotes a desirable slight crispiness in the edges of cookies while keeping the center soft. It also helps in achieving an appealing golden-brown color. Margarine, on the other hand, has a higher water content. This can make cookies spread more during baking and result in a crisper texture throughout. The choice between butter and margarine can depend on dietary restrictions or flavor and texture preferences.
Sweeteners and Their Effects
The choice of sweetener in chocolate chip cookies doesn’t just affect their sweetness. It also affects their texture and color. Brown sugar contains molasses, which adds moisture. It results in a softer, denser cookie with a rich, caramel-like flavor. It also contributes to a darker color. White sugar, meanwhile, leads to a crisper texture with lighter coloration. It promotes more spreading during baking. Many bakers prefer a combination of both sugars to achieve a perfect balance of flavor, texture, and color. This makes the cookies just sweet enough with a chewy yet slightly crisp edge.
Step-by-Step Guide to the Ultimate Chocolate Chip Cookies

Mixing the Dough: The Importance of Creaming Butter and Sugar
The process of creaming butter and sugar together is foundational in creating the perfect texture for your chocolate chip cookies. When you beat butter and sugar together, the sugar granules cut through the butter. This creates tiny air pockets that will help the cookies rise as they bake. This method ensures the cookies have a light, tender texture. For the best results, the butter should be at room temperature to blend smoothly with the sugar. This forms a pale and fluffy mixture. This not only impacts the rise of your cookies but also their flavor. It evenly disperses the sugar and fat for a consistent sweet taste throughout.
The Secret to Even Baking: How to Scoop and Place Dough on the Baking Sheet
Even baking starts with how you portion out your cookie dough. Using a cookie scoop or an ice cream scoop ensures that each cookie is the same size. This helps them to bake at the same rate and achieve a uniform doneness. When placing the dough balls on a baking sheet, leave enough space between them—about 2 inches—to allow for spreading. This space helps to prevent the cookies from baking into each other and promotes even heat distribution around each cookie. This reduces the risk of uneven baking.
Optimal Baking Temperature and Time: Tips to Avoid Overbaking or Underbaking
The right baking temperature and time are crucial to avoid overbaking or underbaking your cookies. Most chocolate chip cookies bake well between 350°F to 375°F. The lower end of this range helps cookies to bake evenly without browning too quickly. Meanwhile, a higher temperature can give a crisper edge. Baking times can vary depending on your oven and the size of your cookies. Generally, they range from 8 to 12 minutes. It’s important to know your oven’s quirks, as some run hotter or cooler. Start checking the cookies a couple of minutes before the recipe’s suggested time. Look for golden edges but still soft centers. Remember, they’ll continue to cook on the baking sheet after being removed from the oven.
Cooling Cookies Properly: Best Practices for Cooling on a Wire Rack for Perfect Texture
Cooling cookies properly is as important as baking them. Once removed from the oven, let the cookies sit on the baking sheet for about 5 minutes. This allows them to set and makes them easier to transfer without breaking. After this brief resting period, transfer the cookies to a wire cooling rack. Cooling on a wire rack ensures that air circulates around the cookies. This prevents the bottoms from becoming soggy and helps them cool evenly. This step is essential to achieving the delightful crisp edges and chewy centers. These are what make chocolate chip cookies so beloved.
Advanced Tips and Tricks for Cookie Perfection

Chilling the Dough: Why It Matters
Chilling cookie dough before baking is a step that can significantly enhance the flavor and texture of your cookies. When you chill the dough, the fats in the butter solidify, which prevents the cookies from spreading too much during baking. This results in thicker, more textured cookies. Additionally, chilling allows the flour to fully hydrate by absorbing the wet ingredients, which improves the consistency and handling of the dough. On the flavor front, chilling the dough allows for a more developed taste, as the ingredients meld together and the sugars break down, enhancing the caramel notes in your cookies. For best results, chill the dough for at least one hour, though many bakers recommend chilling overnight for the most flavor-packed and well-textured cookies.
Tweaking the Recipe for Texture Variations
Adjusting your chocolate chip cookie recipe can lead to different texture outcomes, allowing you to cater to personal preferences for chewy, crispy, or soft cookies. For chewy cookies, increase the brown sugar ratio in your recipe, as the molasses in the brown sugar adds moisture and density. Consider also adding an extra egg yolk, which enriches the dough. For crispy cookies, use more white sugar and consider a higher baking temperature for a shorter time to encourage more spread. All-purpose flour works best here for its lower protein content which crisps nicely. For softer cookies, use cake flour instead of all-purpose flour to create a tender bite, and consider underbaking them slightly, pulling them out of the oven when they are just set but still very soft in the center.
Adding Nuts and Other Mix-ins
Customizing your chocolate chip cookies with nuts, sea salt, and other mix-ins can add exciting flavors and textures. For a nutty flavor and extra crunch, consider adding chopped walnuts, pecans, or almonds. Be sure to toast the nuts beforehand to enhance their flavor. If you’re aiming for a sweet and salty profile, a sprinkle of sea salt on top of the cookies before baking can bring out the sweetness of the chocolate and deepen the overall flavor. Other mix-ins can include things like shredded coconut, oatmeal for a chewier texture, or even a handful of dried fruit like cranberries for a tart contrast to the sweet chocolate.
Storage Tips to Keep Cookies Fresh
Proper storage is key to maintaining the freshness and texture of your cookies. Cool the cookies completely on a wire rack before storing to prevent condensation that can make them soggy. For short-term storage, keep the cookies in an airtight container at room temperature; layer them between sheets of parchment paper to avoid sticking. If you prefer crisp cookies, leaving the container slightly open can help maintain their texture. For long-term storage, freezing the dough or baked cookies is an effective option. Freeze individual dough balls on a baking sheet before transferring to a freezer bag, or wrap baked cookies tightly in plastic wrap and place them in an airtight container. They can be thawed at room temperature when ready to serve or baked directly from frozen, adding a few minutes to the baking time.
Conclusion
We’ve journeyed through the essential steps to crafting the perfect chocolate chip cookie, from selecting the right ingredients and mastering the mixing process to fine-tuning the baking and cooling techniques. By chilling your dough, customizing with your favorite mix-ins, and understanding the subtle tweaks that affect texture, you can elevate a simple batch of cookies into a gourmet treat that impresses.
Remember, the beauty of baking lies in the details and personal touches you bring to the table. Whether you prefer your cookies chewy, crispy, or somewhere in between, the perfect cookie is achievable with a bit of knowledge and a lot of passion.
We hope these tips and tricks inspire you to experiment with your recipes and share your delicious results. Happy baking, and may your chocolate chip cookies always turn out as irresistible as they are delightful!

